Move Mac Os Photo Library To External Hard Drive
- Move Mac Photo Library To External Drive
- Copy Apple Photos To External Drive
- Moving Iphoto To External Drive
By Stephen Robles
Saturday, January 24, 2015, 11:00 pm PT (02:00 am ET)
Dec 11, 2018 Luckily, it’s easy enough to copy your Mac’s Photos library to an external drive. This guide assumes you’re using the actual “Photos” app on your Mac, the default if you’ve used iCloud Photo Stream or imported from your iPhone. May 06, 2015 This is simple, and it's done exactly the same as with iPhoto. Make sure the drive is formatted Mac OS Extended (Journaled) 1. Copy the Photos Library from your Pictures Folder to the External Disk. Jan 29, 2020 Your Photos library holds all your photos, albums, slideshows and print projects. If your library is large, and you want to free up storage space on your Mac, turn on iCloud Library and use Optimise Mac Storage, or move your photo library to an external drive. Before you start, make sure that you back up your library.
Before starting the process, we suggest making an up to date Time Machine backup of your computer to an external hard drive or Time Capsule. Be sure the external hard drive you use to perform this backup is a separate unit from the one you will move the iPhoto Library to should anything happen.If you have an account with a cloud storage service, such as Dropbox, Google Drive or even iCloud Drive, you can also upload the iPhoto Library to these services for extra redundancy.
To begin moving your library, open iPhoto, click File in the Menu Bar and select Switch to Library.
A new window will appear listing any and all iPhoto Libraries detected on your computer. If you're not sure where the iPhoto Library file is located, look at the (Default) listing and the file path will be listed underneath. This should be located in the Pictures folder of your Home directory.
Quit iPhoto by going to
Move Mac Photo Library To External Drive
Quit iPhoto in the iPhoto Menu Bar or pressing Cmd+Q. Connect the external hard drive that you will use to copy the iPhoto Library. You should see it appear on your desktop.Open a new Finder window and click Pictures in the left sidebar. Click and drag the iPhoto Library file onto the external hard drive icon on your Desktop.
Copy Apple Photos To External Drive
Depending on how large your library is and the connection speed of the external drive, it may take several minutes or longer to complete the copy process.
Once the copy is completed, hold the Option key on your keyboard and open iPhoto from the Dock or Applications folder. A new window will pop up asking you to Create a New Library, Choose the Selected Library or Other Library. Click on Other Library.
In the browser window that appears, navigate to your external hard drive, click the iPhoto Library file you've copied and click Choose.
iPhoto will open and as long as the external hard drive is connected, will reference the library on the external drive and not on your computer's drive.
Quit iPhoto once again and eject the external hard drive holding your new iPhoto Library. Open a new Finder window and navigate to the Pictures folder in the left sidebar again.
Right click or Ctrl+click on the iPhoto file and move it to the Trash.
Finally, to free up the space on your internal hard drive, open the Trash from the Dock or Finder window and click Empty Trash in the upper right corner.
Your iPhoto Library has officially been removed from the internal drive. You can now reconnect the external hard drive you used to copy the iPhoto library, open iPhoto and use it as normal.
If you open iPhoto without your external hard drive connected, iPhoto will give you an error message saying the 'Library cannot be found.' Quit iPhoto, connect the external hard drive and reopen to fix.
For those looking to expand their beyond their Mac's internal storage HDD or SSD, AppleInsider recommends having at least 1TB of extra space at the ready. A few high quality external and portable hard drive options from Seagate, HGST and Western Digital are listed below.
- Seagate 1TB Backup Plus Slim for Mac for $72.99 from B&H and Amazon.com or $88.99 from MacMall
- Also available in 2TB for $99 from Amazon and B&H or $149.99 from MacMall
- HGST 1TB Touro S Ultra-Portable External Hard Drive for $69.99 from B&H or $83.99 from MacMall
- Available in 4TB for $149 from Amazon and B&H
- Western Digital 1TB My Passport Drive for Mac from Amazon for $68.45, $69.00 from B&H or $70.99 from MacMall
- Available in 2TB for $96.24 from Amazon, $99 from B&H or $101.99 from MacMall
Free up your space by transferring your Photos library to another external hard drive. By freeing up space you will have valuable space for your work on your Mac. In addition to this, we will help you to back up your whole photo library to iCloud.
Dec 12, 2016 How to Show /Library Folder in MacOS Mojave, High Sierra, Sierra. From the Mac OS Finder, go to the Users home folder. Pull down the “View” menu and choose “View Options”. Choose “Show Library Folder” in the settings options for the User home folder. With your Home folder open, go to View Show View Options from the menu bar, or use the keyboard shortcut Command-J. At the bottom of the View Options window, check the box labeled Show Library. Jan 12, 2020 Launch Terminal, located in /Applications/Utilities. Enter the following command at the Terminal prompt: Press Return. Once the command executes, you can quit Terminal. The Library folder will now be visible in the Finder. Should you ever wish to set the Library folder. 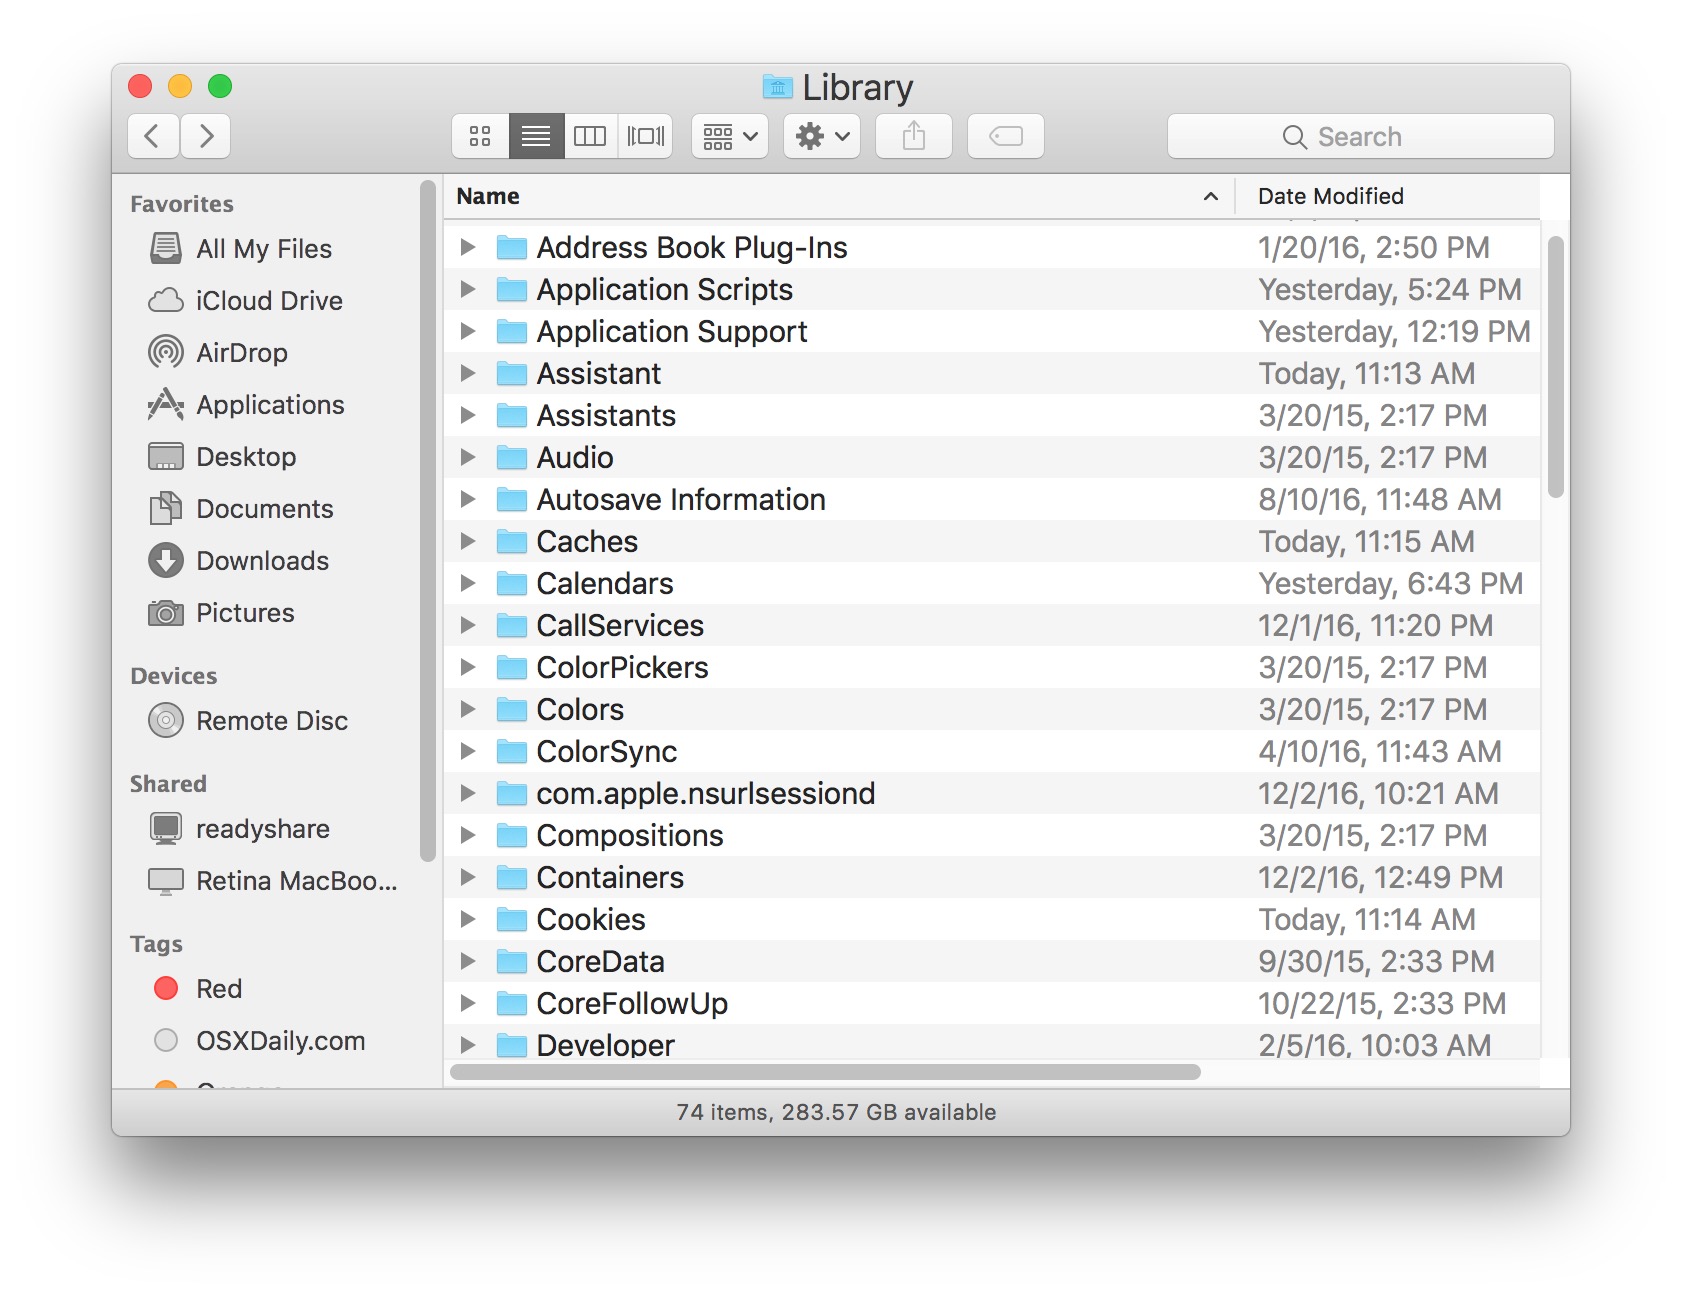 Oct 03, 2018 If you access the Library folder often, you can permanently show the Library option on the Go menu and the Library folder in your Home folder. Open Finder and head to your Home folder.
Why store photos on external drive
In today’s world, everyone loves to capture photos of every single moment and wants to save all those moments in his/her personal devices like Mac. But saving all your photos can fill-up your Mac storage quickly and you may face the shortage of space.
There are many options to store your photos data. One of them to store your photos on iCloud photo library but the drawback of saving your photos on iCloud is, if you delete the photo from your device it will be deleted from iCloud as well.
One question raised up here is that what we can do to store all our photos to some safe place if we are running out of space on Mac?
Fortunately, you have visited the right place to find the solution to your problem. There is a safer and easy way to transfer your entire photo library from your Mac to your external drive. The best of this trick is whenever you need to see your photos on your Mac you just need to open photo library app on your Mac it will automatically take you to your saved photos in external hard drive until unless it is plugged in.
Snapshot of the guide
There is a quick snapshot of the guide so you can understand quickly how to move the library to external drive.
- Prepare your external hard drive to move Photo Library. Make sure drive is formatted as MacOS Extended Journaled.
- Go to the location of the Photo library and move it to external drive.
- Set the external library as a System Photo Library (So whenever you open the Photos app it will open the photos library from the external hard drive.)
- After completing trasfer to drive, make sure this external drive is connected to your Mac whenever you want to access photos.
Our article will help you to move your photos from Mac to external hard drive. Continue reading the steps are about to start.
Do not worry if you have already stored your photos on iCloud photo library. Our article will help you to get back your already saved photos in iCloud photos library and will help you to move them to external hard drive. Here is how to do it.
System Photo Library vs Other Library
When you run Photos app on your Mac first time this will ask you to create a new or use an old library. That default Photo library became the system library automatically. Only System Photo Library are allowed to access iCloud services.
You can create multiple other libraries and work with photos only in one library at a time. To work in another library you have to switch the library. You can also change and set one of the other libraries as a System library.
How to transfer the Photos library to a hard drive
First, make it sure the hard drive you are going to use for Photos library is faster and have enough space. It will save your time and stored your memories quickly. A good hard drive always keeps your stuff secure and there are fewer chances of losing your data.
Before going step by step to move your photo library to external hard, first make it sure that your external hard drive is already formatted for Mac OS Extended (journaled). If it is not formatted for Mac first erase all the data from it and format and choose the option of Mac OS Extended (journaled). Use the Disk Utility on your Mac to erase any hard drive (When you erase any drive in mac everything will be deleted, so please save any important data ).
- Find the Photos Library on your Mac, it will be in your Pictures folder. Click the Go menu on the top and then select Home option from the menu.
- Open the Pictures folder and there you will find the Photos library.
TIP: In order to see how much storage your photos have taken, just Ctrl+Click on the photos library icon and click on Get Info. Now you can make sure that you have enough storage in your external hard drive. - It’s time to copy your Photos Library to your external hard drive using drag and drop trick. Now sit back and wait until copies over. The time of transferring photos depends on the size of your Photo Library.
- When transferred completed, press and hold the Option/Alt key from keyboard and click the Photos app icon from Dock to open it. Keep holding the keyboard key until you see a window otherwise this will open the Photos app.
- You will see a new window to choose the library. On that window hit the button Other library. Navigate to the new location on your external hard drive and choose the Photo Library.
- If there is a message that shows “there are some items that need to be downloaded from iCloud Photo library” then you need to click on delete incomplete items and download all those incomplete items.
Set a photo library as System Photo Library
We have already moved the library to an external drive now its time to set it as System Photo Library. Doing that will allow it to use iCloud service.
- Open the Photo Library from the external drive.
- Click Photos men and then select the Preferences option.
- On the next window click General and then click Use as System Photo Library button (this will help you to get it to work with iCloud Photo Library)
TIP: Remember this is the step you need to perform in future If you accidentally unlinked the external drive’s photo library from the Photos app. - Go to System Preferences then iCloud then Photos then Options, and choose iCloud Photo Library to turn that back on. See if you have stored all the photos here.
Note: you will need to plug in your external hard drive in order to see your photos).
Delete Photo Library from Mac
Once you have confirmed that all the photos in the library moved to the external drive. You can delete the Photo Library from your Mac computer. Go to the Pictures folder and delete it to free up space from your mac.
How to back up your iCloud Photo Library
If you want to move all your photos which you have already backed up to your iCloud photo library to a storage device connected to your Mac. Follow our step by step guide above, but you need to download all the images from iCloud first.
Where is the arduino source folder on Mac's Arduino.app? Ask Question Asked 5 years, 5 months ago. Mac Arduino packages everything inside a.app file and I can't seem to find the arduino folder on mac. Where is it located? Where is PHP.ini in Mac OS X Lion? Thought it was in /usr/local/php5/lib. Based on those the Arduino.h file is in the folder platform installation folder/cores/core. The platform installation folder is dependent on how the platform was installed on your system. For instance arduino avr comes with the Arduino IDE and as such it is installed in the app like majenko explained. Download arduino mac. This guide takes you step-by-step through the process of installing Arduino libraries on Windows, Mac OSX and Linux platforms. When the Arduino Software (IDE) is properly installed you can go back to the Getting Started Home and choose your board from the list on the right of the page. Last revision 2016/08/09 by SM The text of the Arduino getting started guide is licensed under a. The library manager was added starting with Arduino IDE versions 1.5 and greater (1.6.x). It is found in the 'Sketch' menu under 'Include Library', 'Manage Libraries.' Arduino 1.5+ Library Manager Menu Option.
If you have already transferred your Photos library onto the external storage device, now you need to follow these steps.
Moving Iphoto To External Drive
- Open Photos on your Mac.
- Click Photos then click on Preferences.
- Click on the iCloud tab.
- Choose Download originals to this Mac.
Now all your iCloud photos will be saved on the storage device. (If you are running short of space you would probably not want to do that)
No related posts.