How To Transfer Iphoto Library To Photos On Mac
Your Photos library holds all your photos, albums, slideshows, and print projects. If your library is large, and you want to free up storage space on your Mac, turn on iCloud Photo Library and use Optimize Mac Storage, or move your library to an external drive.
Nov 09, 2018 There is a safer and easy way to transfer your entire photo library from your Mac to your external drive. The best of this trick is whenever you need to see your photos on your Mac you just need to open photo library app on your Mac it will automatically take you to your saved photos in external hard drive until unless it is plugged in. Aug 16, 2019 How to Move iPhoto Library to a New Location/Computer iPhoto is a part of iLife software application suite, which not only helps you organize and edit your photos, but also lets you get more from these photos by making photo books, greeting cards and slideshows. IPhoto will generates a iPhoto Library folder or package that contains imported photos and any albums you've added using iPhoto.
Before you start, be sure to back up your library.
Prepare your drive
You can store your library on an external storage device, such as a USB or Thunderbolt drive formatted as APFS or Mac OS Extended (Journaled).1 Find out how to check the format of your external storage device.
To prevent data loss, Apple doesn't recommend storing photo libraries on external storage devices like SD cards and USB flash drives, or drives that are shared on a network.
Move your Photos library to an external storage device
- Quit Photos.
- In the Finder, go to the external drive where you want to store your library.
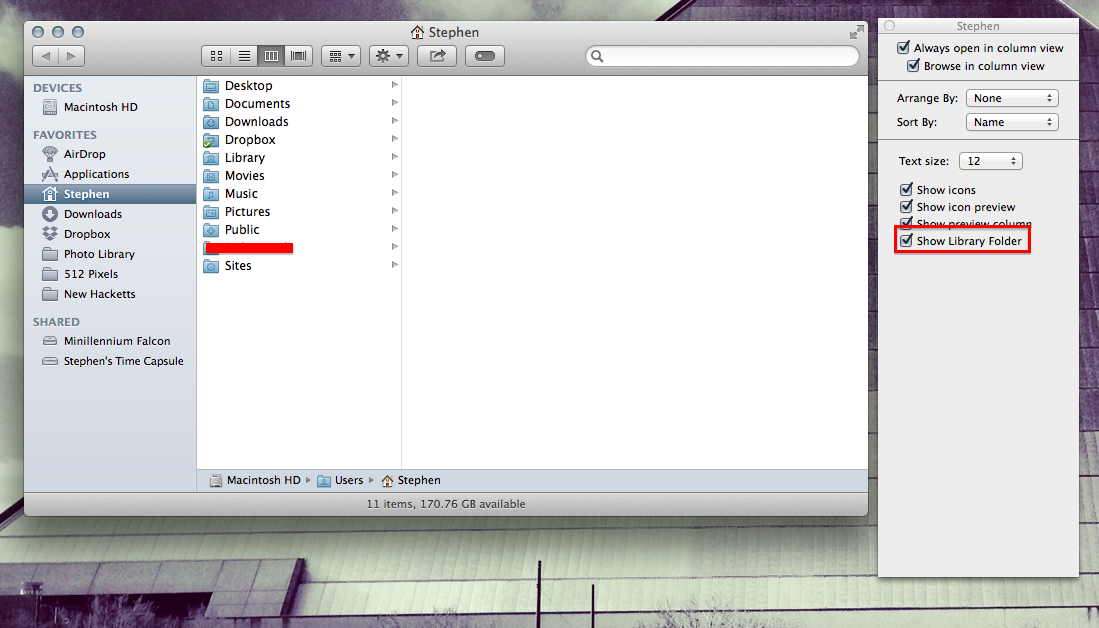
- In another Finder window, find your library. The default location is Users > [username] > Pictures, and it's named Photos Library.
- Drag your library to its new location on the external drive. If you see an error, select your external drive's icon in the Finder, then choose File > Get Info. If the information under Sharing & Permissions isn't visible, click , then make sure the 'Ignore ownership on this volume' checkbox is selected. If it's not selected, click to unlock it, enter an administrator name and password, then select the checkbox.2
- After the move is finished, double-click Photos Library in its new location to open it.
- If you use iCloud Photo Library, designate this library as the System Photo Library.
Delete original library to save space
After you open your library from its new location and make sure that it works as expected, you can delete the library from its original location.
In a Finder window, go back to your Pictures folder (or whichever folder you copied your library from) and move Photos Library to the trash. Then choose Finder > Empty Trash to delete the library and reclaim disk space.
Open another Photos library

If you have multiple libraries, here's how to open a different one:
How To Transfer Iphoto Library To Photos
- Quit Photos.
- Press and hold the Option key while you open Photos.
- Select the library that you want to open, then click Choose Library.
Photos uses this library until you open a different one.

Learn more
If you have a permissions issue with your library, you might be able to resolve the issue by using the Photos library repair tool.
1. You can't move your library to a disk that's used for Time Machine backups.
 Open the Applications Utilities folder, and then double-click Terminal.
2. If the volume isn't formatted APFS or Mac OS Extended (Journaled), or has been used for Time Machine backups but hasn't been erased, this checkbox will either not be present, or won't be selectable after unlocking. Erase and reformat the drive for this option to be available.
- iPhone to Mac
- iPhone to PC
- iPhone to iPhone/iPad
“I have some photos in a folder on my Mac's desktop. I want them in my iPad's Camera Roll. I don't wanna use iTunes syncing because I just want this single bunch of pics added to my iPad camera app. Can I copy photos from Mac folders to iPad without iTunes?”
Exporting photos from iOS device to computer is quite easy, while things are different in terms of pictures transferring between Mac and iPad/iPhone. If you have tons of images stored on your Mac computer and want to be accessible to them at anytime and anywhere, you can consider importing photos to iPad Pro/Mini/Air. With its portability and high resolution screen, iPad makes it enjoyable to view and share photos with friends or families. This post covers 2 simple ways on how to transfer photos from MacBook Pro/Air/iMac to iPad with or without using iTunes.
Method 1: Sync iPhoto Pictures to iPad Using iTunes
Usually iTunes is the first choice at the mention of iOS files transferring. In the following, I will show you how to move pictures from iPhoto Library to iPad Pro/Air/Mini.
- 1. Connect your iPad with Mac OS X computer via the cable. iTunes will automatically launch if it hasn’t been opened already.
- 2. Click the iOS device icon and then Photos tab.
- 3. Choose iPhoto under “Sync photos from” option. For later Photos App on Mac, it will be “Photos”. Or you can create a folder on Mac if the pictures are not in iPhoto Library. Specify the photos by Albums, Events or Faces to be exported.
- 4. Click Sync and the photos are added into iPad. When the syncing process finished, you can see a promotion on the top of the iTunes window. Now you can disconnect your iPad.
However, as the case on the beginning of this post suggests, people are not willing to sync photos from Mac to iPad using iTunes. 3 main reasons can lead to this situation.
How Do I Transfer Iphoto Library To Photos
Why users not willing to use iTunes to copy photos?
- 1. iTunes may erase existing photos and other files on your iPad.
- 2. Only supportive to folders. You can’t just pick up a single picture to be transferred.
- 3. Synced photos deleting must be done through iTunes again. (No deletion tab shown on Camera roll)
Therefore I strongly recommend a third-party software Tenorshare iCareFone for your reference. It can get photos importing job perfectly done if you don’t mind costing a few dollars. Compared to iTunes, it enables one or multiple photos to be exported from Mac to iPad without data losing, and it also compatible with all iPad models and Mac OS version 10.14/10.13/10.12 and under.
Method 2: Import Photos from Mac to iPad with Tenorshare iCareFone
Apart from iTunes, you can take advantage of Tenorshare iCareFone for Mac to sync photos to iPad without iPhoto/iTunes. The steps are quite simple.
- 1. Launch the iOS file transferring software and plug in your iPad to Mac OS computer with USB cable. And then Go to File Manager > Photos.
- 2. Click Import and it will automatically pop up a window for you to choose a location to migrate photos to iPad.
- 3. After that click Open to start sending photos to your iPad.
Done! Within a few minutes, you can view all pictures on iPad freely now. Come and hit this iTunes alternative software that you should not miss for Mac now.